
Tutorial for the New Input System!
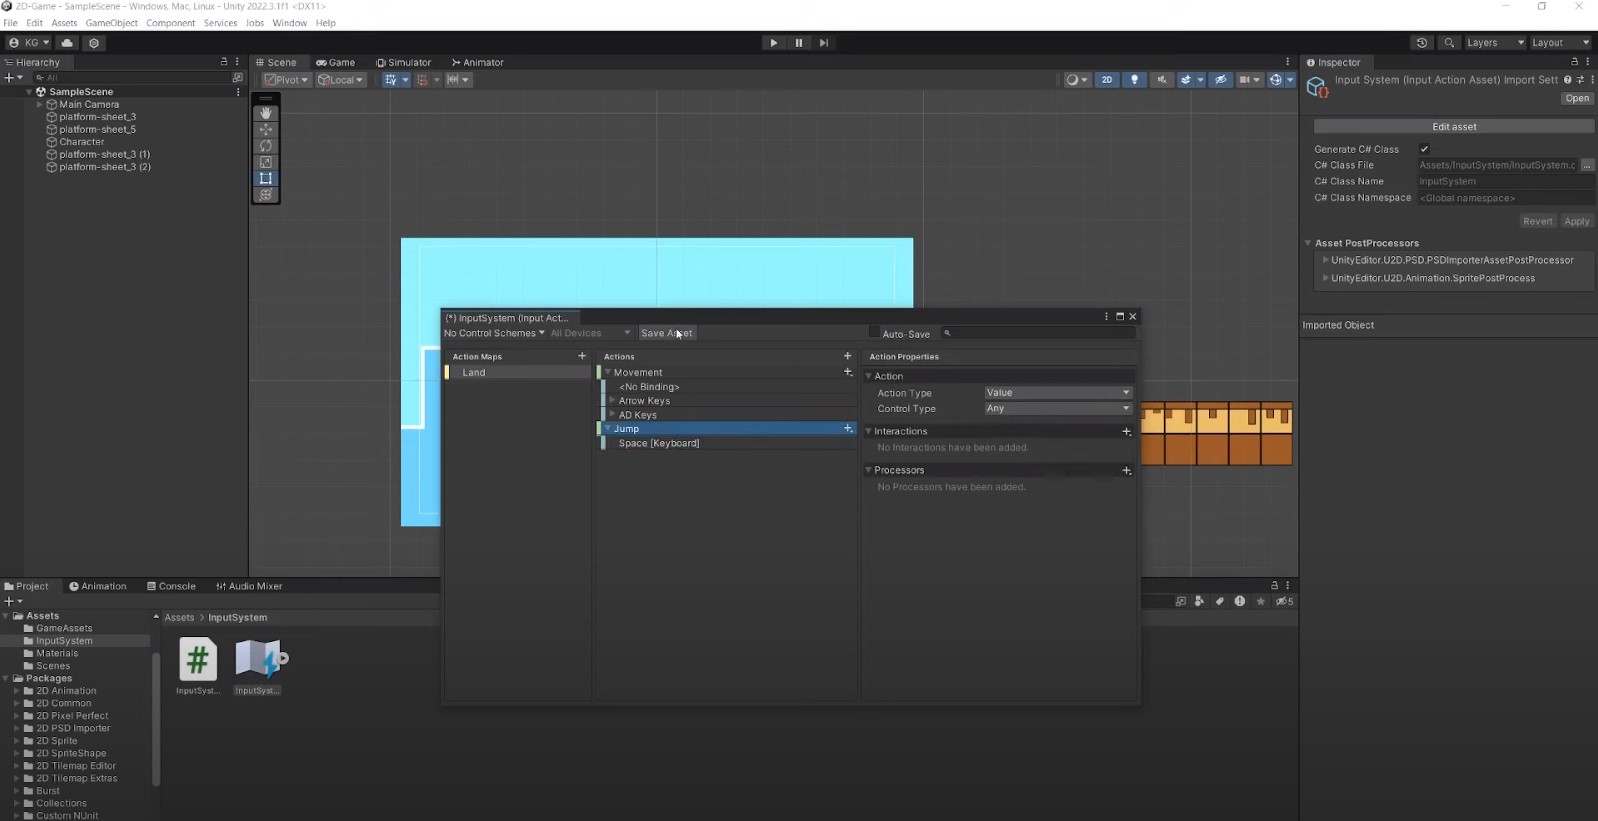
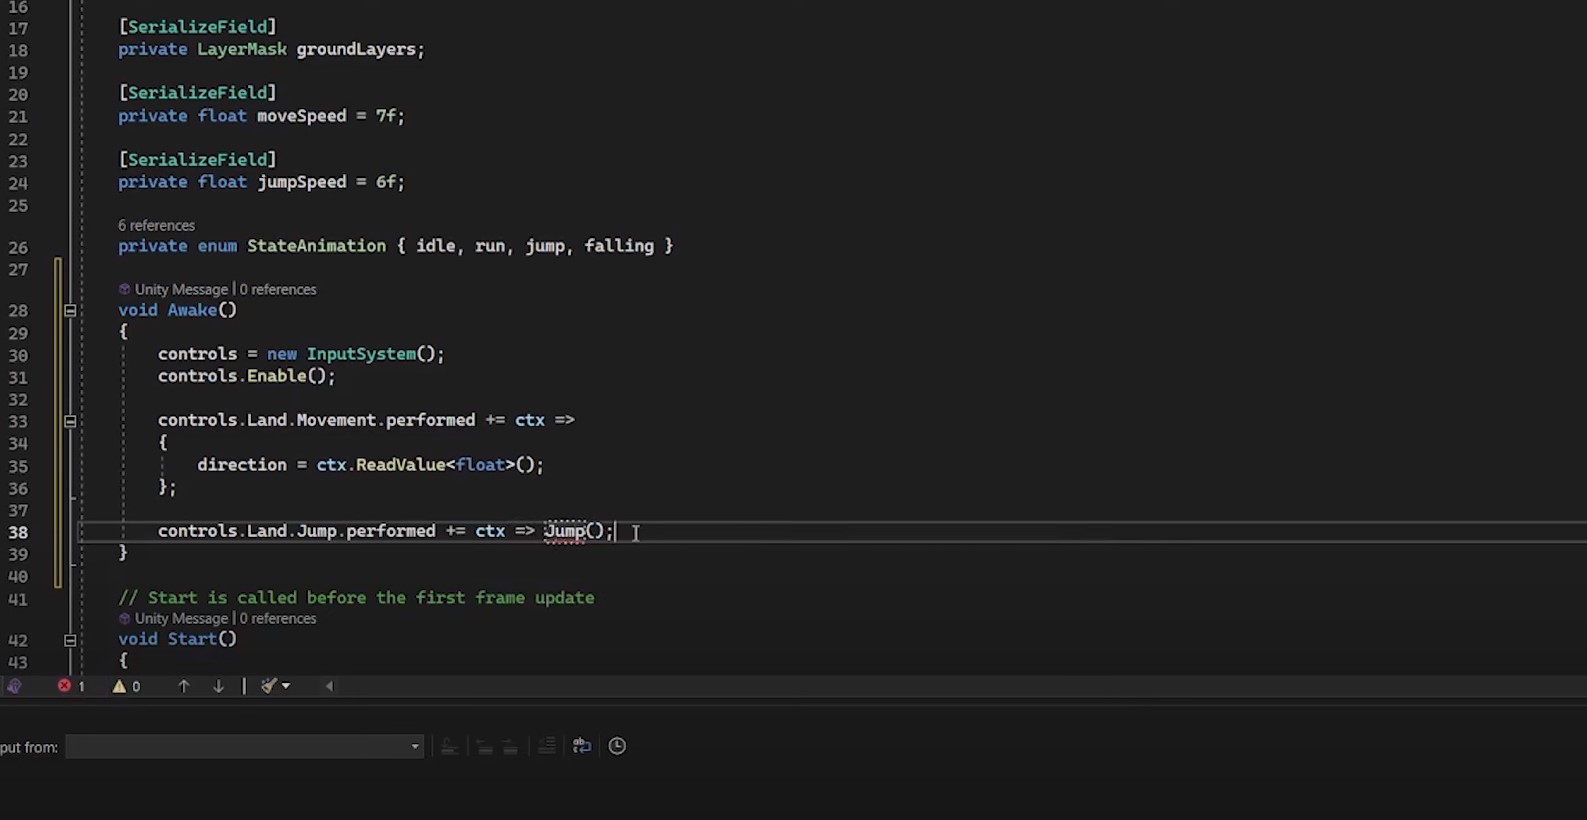
In this video, you will learn how to implement the new input system in Unity, as well as the mobile controls in your Unity project. The reason why you should use it is because the old inputs will be deprecated in future versions. The system covered in this video is very practical and you can implement it easily. The first thing you need to do is to open Package Manager and install the package. Then you should make a system of Actions that will be powering your project with some specific controls. Next, you have to go to the PlayerMovement script and implement the InputSystem into the void Awake, which is called before void Start and Update.

Click the video to watch.
The Implementation
This Unity feature has a very strategic way: This code describes your player to enable the inputs. It is pretty much self-explanatory. The input actions are displayed in green, while the blue parts are the bindings.
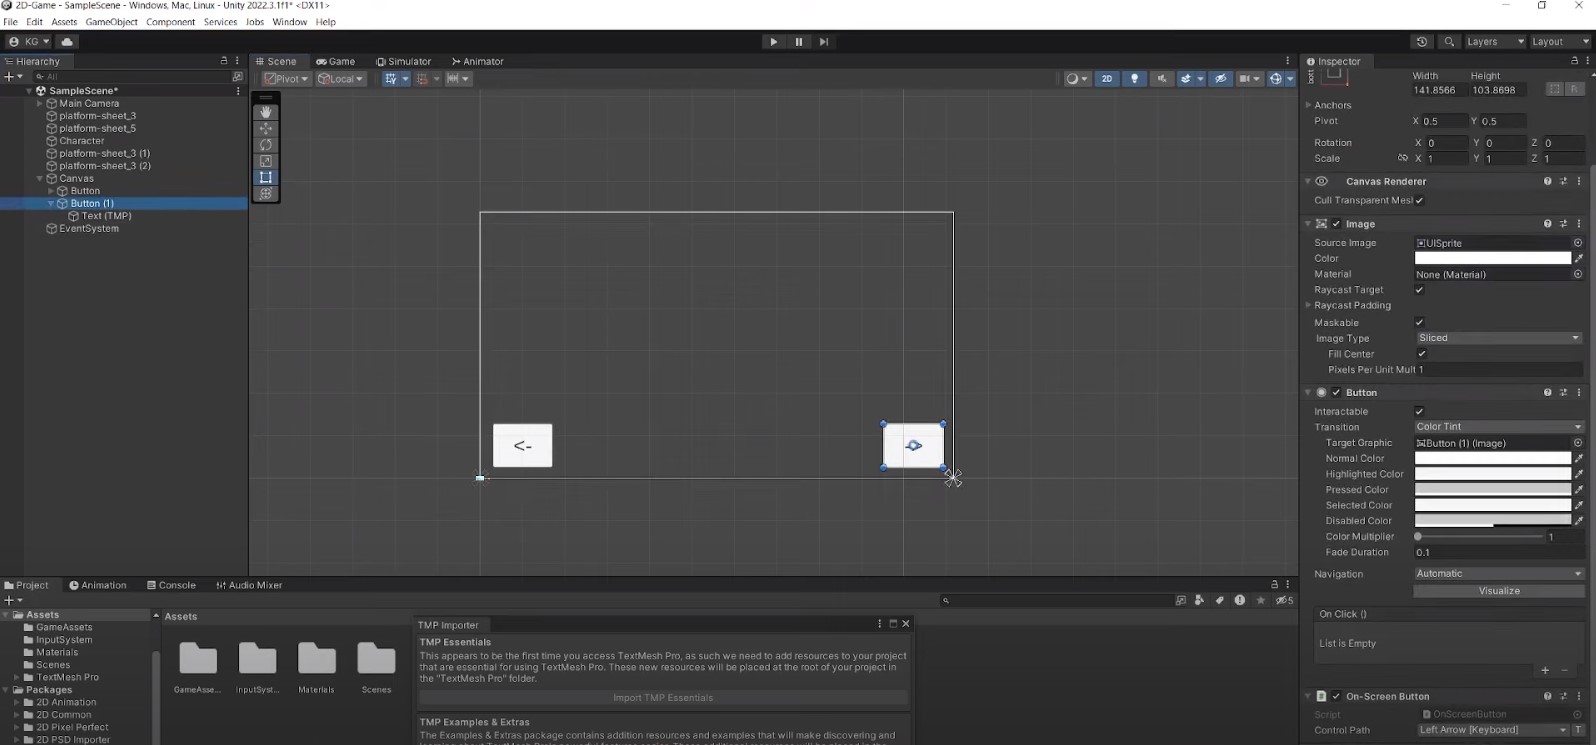
Make sure to add the Canvas element because it contains all important layouts and assets that allow you to add the UI elements in your project. The UI elements need to have an OnScreen Button action that is defined with arrow keys (movement) or spacebar (jumping). These buttons are for navigation on mobile devices. I will also make a video with Android remote display that will easily demonstrate the input system feature.
If you find this video helpful, consider subscribing. I will make videos every week. Lastly, I will make more game development tutorials and other content related to game industry. These videos will help beginner game developers become better and make amazing games.